
As a product which has been on the market for a dozen years, in use by organizations literally worldwide, ExcelliPrint® has a number of features which have grown out of real-world printing scenarios. One of these is the ability to ignore page boundaries.
Recently we were working with a customer who sent us samples of output where some of the text along the right margin was trimmed off. We re-ran the job in-house using the ExcelliPrint capture tool. Using our diagnostic tool, we found that the host was telling ExcelliPrint to set the page size to 8.5 x 9.6 inches. When we generated PCL, we could see using a PCL viewer that the output had all the text it was supposed to, but due to the margins set for the job, it didn’t all appear.
To overcome this problem, ExcelliPrint offers the ability to “not crop”, so to speak. If you think about editing an image, or cutting an article out of the newspaper, you would typically select a rectangular region, then preserve everything inside that region by removing everything outside. With ExcelliPrint the default behavior is to crop to the paper size. If you turn this off, ExcelliPrint will include the entire printed page.
Let's go over the steps to make this change to ExcelliPrint processing. Open the ExcelliPrint setup, typically “localhost:8080” in your web browser. You'll have to include a username and password.
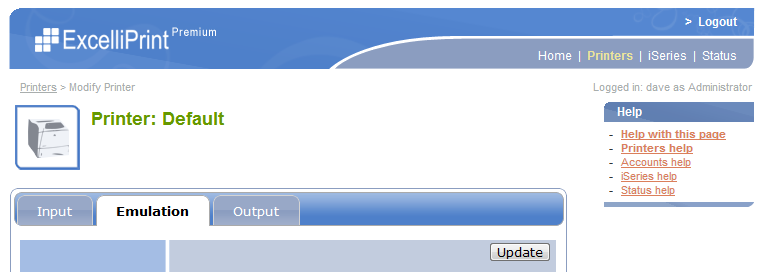
- Find the Emulation tab and click on that. Here's the Emulations tab:
- Scroll to the bottom of this page:
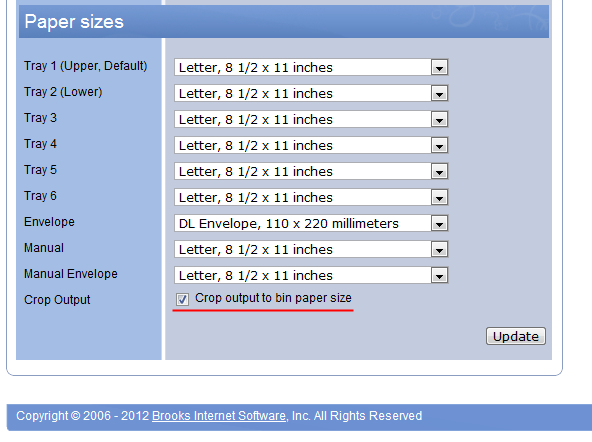
- Click the underlined setting, “Crop output to bin paper size”. Note that it’s selected by default, as shown above. We want it to not be selected.
When the customer tried this on his system, he reported that the Windows print driver gave him the best results for his print jobs. We believe it is also worth trying the PCL output and the PDF option as well.
If you have any questions, please contact our tech sales staff.