We recently received several questions from a mainframe user:
- How do I print my text in ASA from my mainframe to PDF?
- How do I convert my ASA to plain text?
Let’s step through this by creating a queue and setting up the processing.
Create the queue
In the user interface, we’ll go to Queue / Create. Here I’ve filled in the name and an optional description.
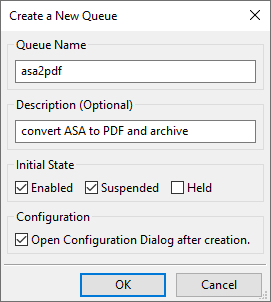
I usually select “Open Configuration Dialog after creation” just so I can save a step.
Work on the data
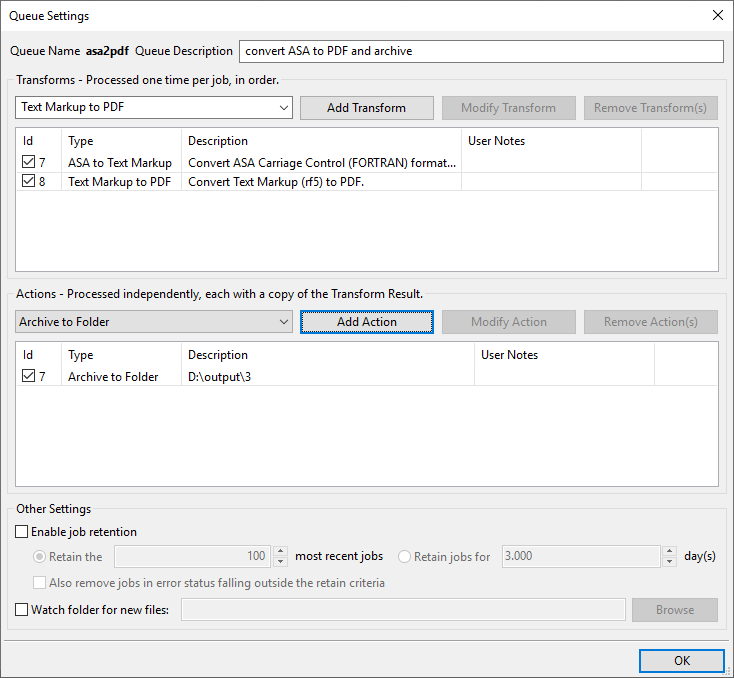
Next, I’ll set up two transforms. Go to the “Select Transform Type to Add” widget and scroll to the bottom:
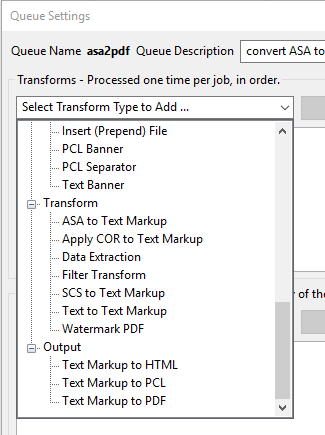
Select “ASA to Text Markup” then click the “Add Transform” button. Here is the ASA to Text Markup form:
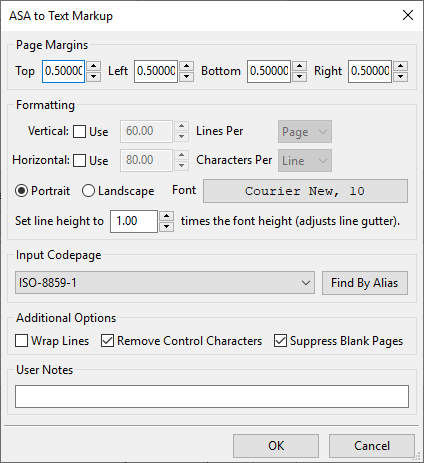
Here you can fine-tune the margins and all manner of other settings. When you’re finished, click OK and we’ll continue.
Let’s add another transform. Select the transform type list again and add “Text Markup to PDF”, which is all the way at the bottom of the list.
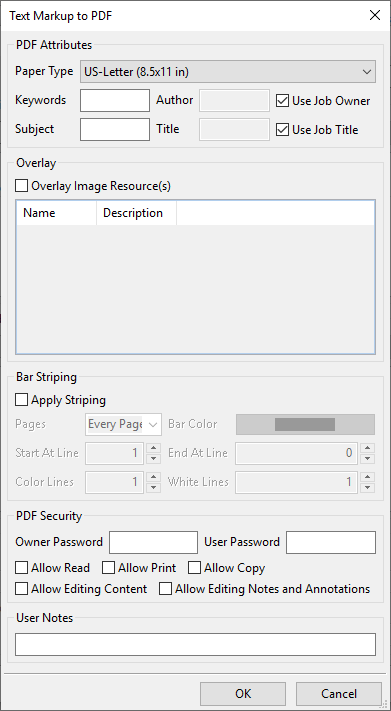
These settings are common to all PDF we create from the plain text of print jobs, not specific to ASA.
Save the result
Now we’ll add an “archive to folder” action and our setup will be complete … of course that doesn’t include fine-tuning!
In the queue setup form go to the “actions” list and select “Archive to Folder”.
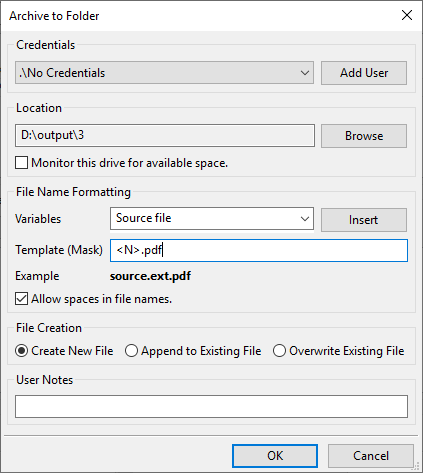
Here I’ve already changed some of the default settings:
- I selected a folder location
- I turned off “Monitor this drive for available space” simply because it’s a huge drive and I know the limits of my testing
- I changed the File Name Formatting template from “-” to “.pdf”
And there you have the essential setup for translating ASA to PDF and saving the result to a folder on your hard drive:
Converting ASA to plain text
You can generate plain text from ASA with a similar process. Since we’ve done much of the work already we won’t labor over the details.
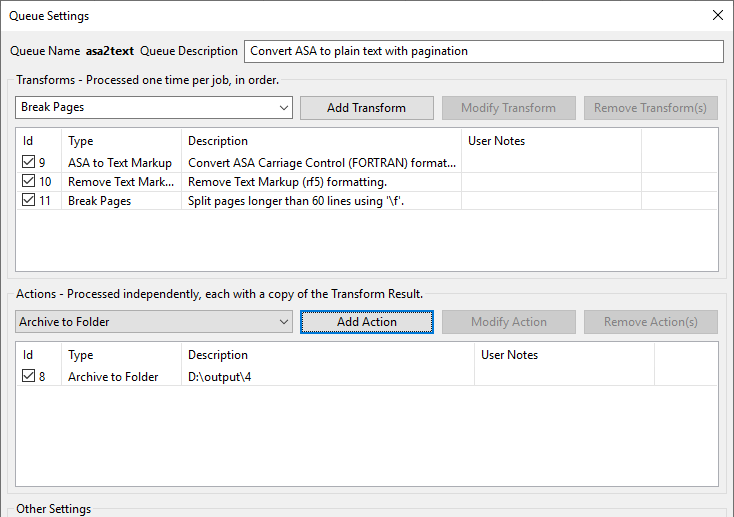
First, create a queue; we’ll call this “asa2text” for want of something more creative
Second, add the transform “ASA to Text Markup” like we did before
Third, we’ll add the transform “Remove Text Markup”. This does not have any setup so when you add it, you won’t see a setup form.
Now we’re going to add another transform that will break up the pages by adding a form feed every so many lines.
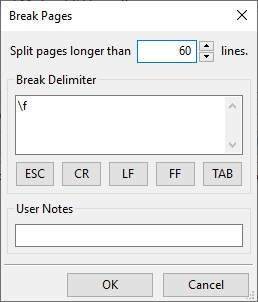
The string “\f” represents a form feed. You can enter any text here that you would like and use the buttons on the form to fill in special characters as you might need.
Last, we’ll add another “Archive to Folder” action only this time we’ll use the file extension “.txt” rather than “.pdf”