Congratulations! You’ve installed RPM Remote Print Manager® (“RPM”) and you can send print jobs to it. The jobs are piling up in a print queue.
Now what do you do?
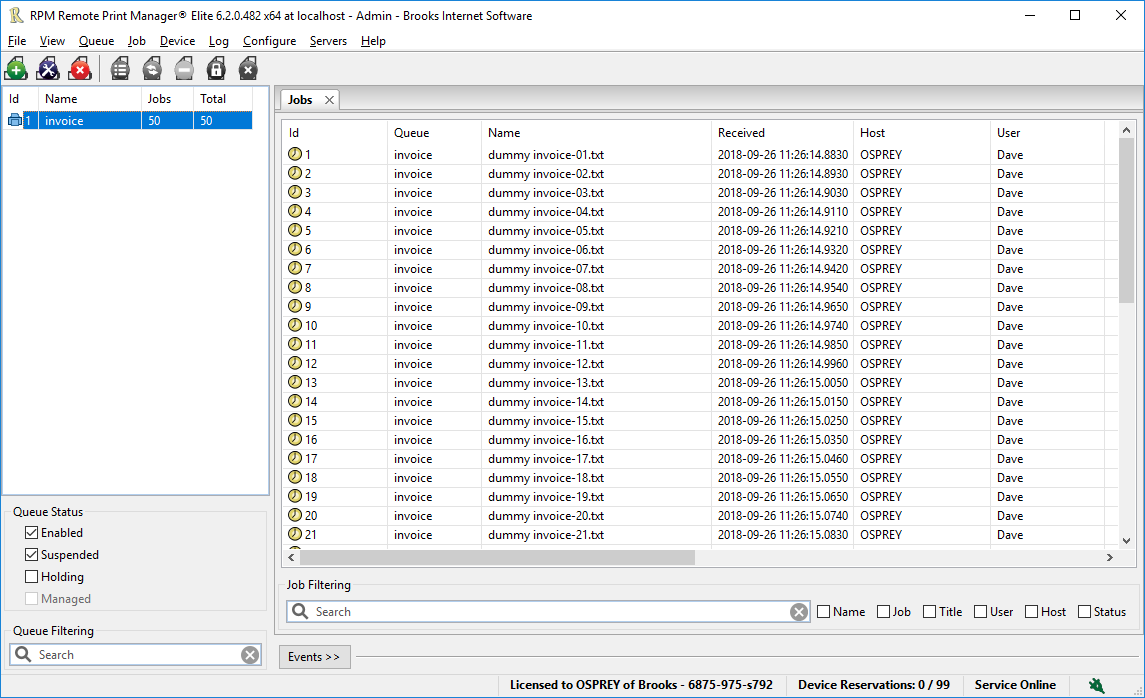
Here I printed fifty dummy invoice text files to a print queue named “invoice”. RPM created it automatically for me. When I clicked on the “invoice” queue in the list to the left, the jobs showed up in the job pane.
How to print text documents
How do we connect this “invoice” print queue to a printer? There are three steps:
- Figure out what your data format is
- Do whatever conversions you need
- Pick the action that will give you the final result you want
Step 1: figure out your data format
If you were involved in setting up the original print, from your computer to RPM, then you probably know what the data format is. It’s still worth confirming that you actually received what you expect.
For many of us, we’re just going to have to look at what we have and deal with it. Fortunately, RPM has a lot of tools to help you “deal with it”.
Let’s take a look at the first job in the list, job #1, “dummy invoice 01.txt” The fact that the file is called “.txt” might reassure us that it’s text, but let’s be certain.
Right-click on the file. Select “View Contents” then “Notepad”:
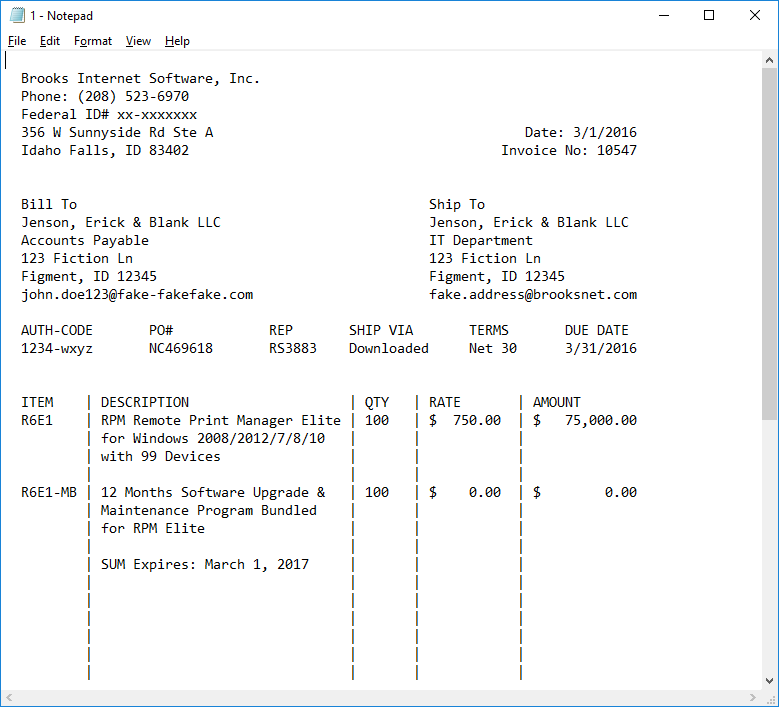
To those of us familiar with Notepad, the staple of basic text viewers, this file certainly seems like plain text. In fact, it is. If you are interested in what these documents look like, this page shows the dummy invoice in its entirety. /dummy-invoice-10547
In fact, using Notepad++ we see that this file is 60 lines long and the columns are up to 80 characters wide.
Step 2: data conversions
Preparing text for printing with RPM is usually a one-step process. We have tools called “transforms” which make some kind of change to the data, perhaps cleaning it up, changing the format, converting from one code page to UTF-8 or many others.
To get this plain text ready for printing we’ll use the “Text to Text Markup” transform. Text markup is something we invented just for RPM. We have a large number of data formats we can convert to text markup, and then a large number of conversions or operations we can do on text markup to create PDF, for instance, among other things.
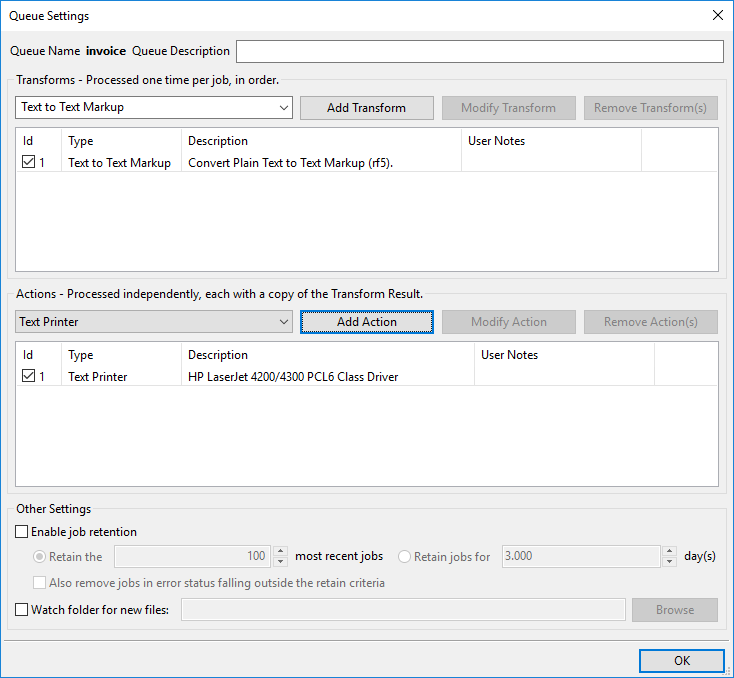
Let’s get started with the queue setup. Double click on the “invoice” queue:
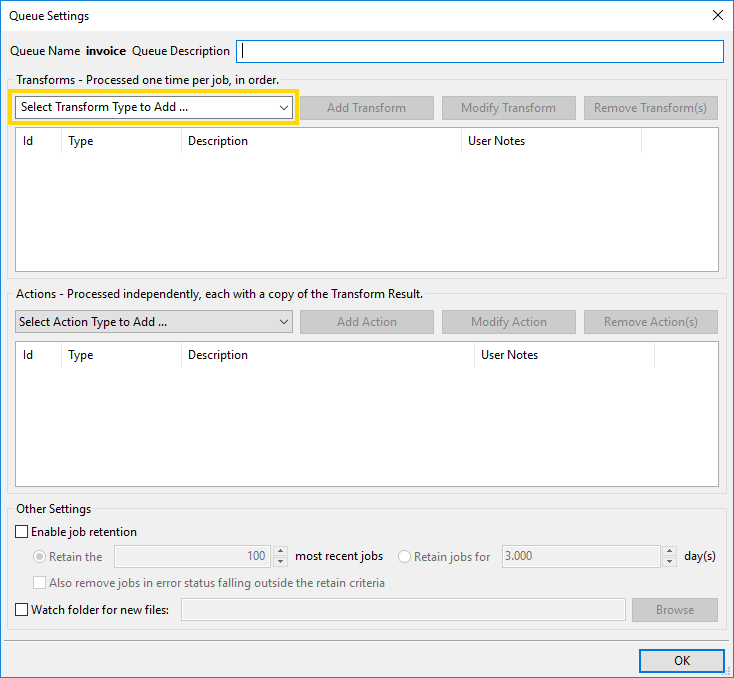
We are first going to select a transform type. Click on the droplist highlighted in this image:
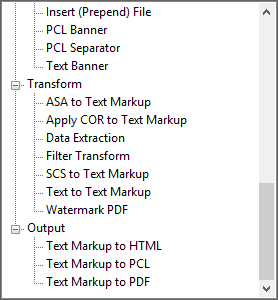
Scroll to the bottom and select “Text to Text Markup”. Now click the “Add Transform” button:
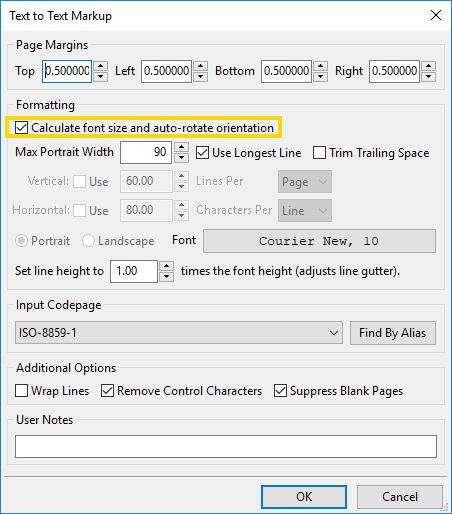
Note that I highlighted the checkbox “Calculate font size and auto-rotate orientation”. This directs RPM to analyze your text and come up with a font size and line spacing that it thinks will work best for your data. RPM will also auto-rotate using its own rules.
We probably have more positive comments about the auto-calc feature than anything else we've done to the text markup form over the years. We put a lot of work into making it right and people seem comfortable with the results.
To be honest I normally turn that off and select the vertical and horizontal metrics I want to use. If that is your preference, then try these suggestions:
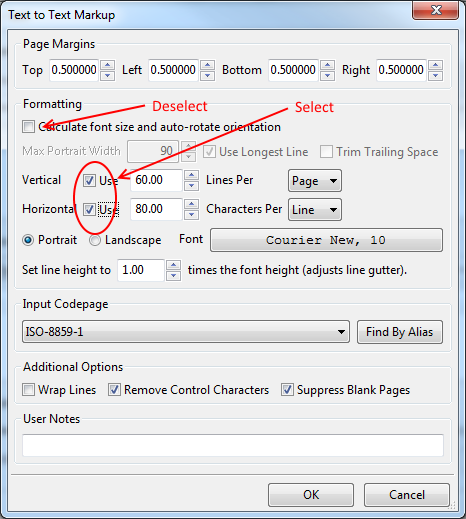
This usually works for me but the point is, you can set this up however you want.
It's vital to remember that you really have to understand your own data. If you configure RPM to work a certain way then that’s what it will do, and if some of your data doesn’t fit those rules then you won’t get the results you expect.
Fortunately, you can easily get RPM to handle the exceptions but that’s a story for a different page.
Step 3: pick your output
Once you’ve clicked OK to close the “Text to Text Markup” form you’ll be back to the Queue Setup form. Near the middle of the form is the Actions drop list. Here I’ve clicked that and selected “Text Printer”:
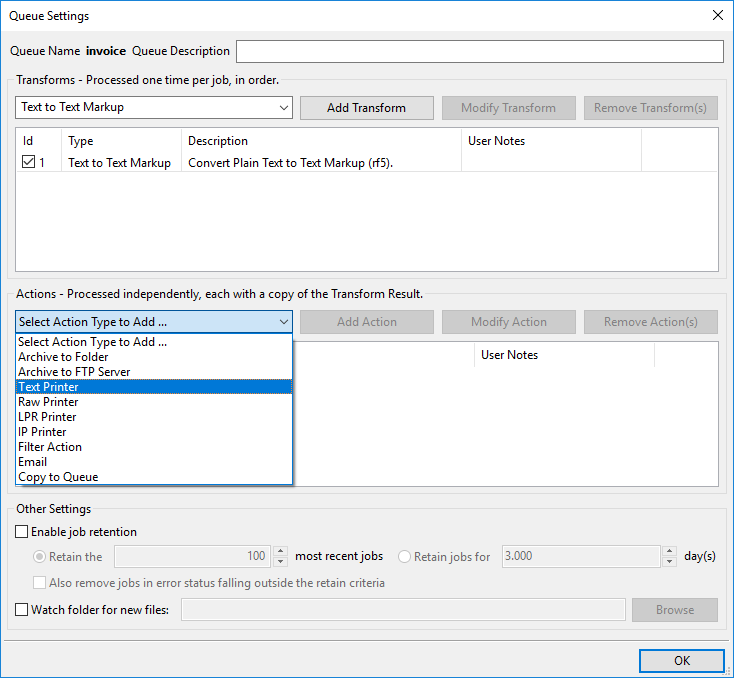
Click “Add Action” and you'll get the "Text Printer" form:
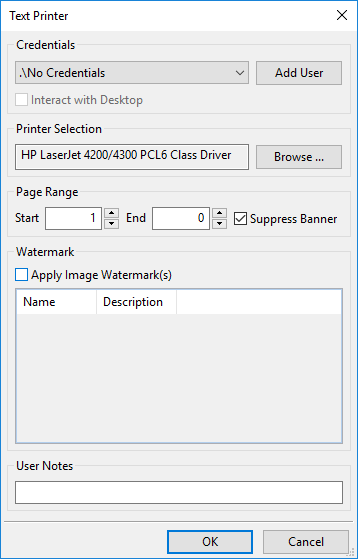
You can see that my Windows default printer is "HP LaserJet 4200/4300 PCL6 Class Driver". I can browse for a different printer:
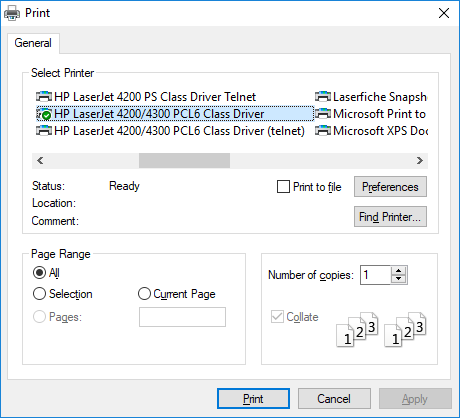
But I’m fine with this choice so I just clicked “Print” and closed the dialog. Click “OK” and the queue settings are saved. This print queue is now set to print text files to the HP 4200 printer.
One final thing remains.
Final step
If you have actually followed the steps above, you’ve gotten to this point and noticed … nothing happens. This is because the queue is “suspended”.
Queue Status
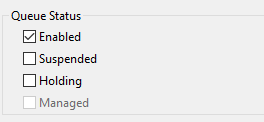
We have three settings under the heading “Queue Status”:
- Enabled
- Suspended
- Holding
We also have a fourth which is disabled, “Managed”. This may apply if you have a custom solution developed by us.
The reason we suspend queues when we create them is that, without a setup, we don't know what you want to do. And there is no default setup because there is no default for what you might want to do. We judged it was better for you to decide than for us to make an uneducated guess.
Here is basically what the queue states represent:
- Enabled means the queue can receive print requests, or, print documents
- Suspended means the print requests will be received but not processed
- Holding is something which is easier to explain separately and doesn’t apply here. Just leave it unchecked because turning it on at this point complicates things
Note that I highlighted the “Suspended” setting. Uncheck it to “resume” processing, even though this may be the first time.
You’ll know it’s working when the jobs start processing:
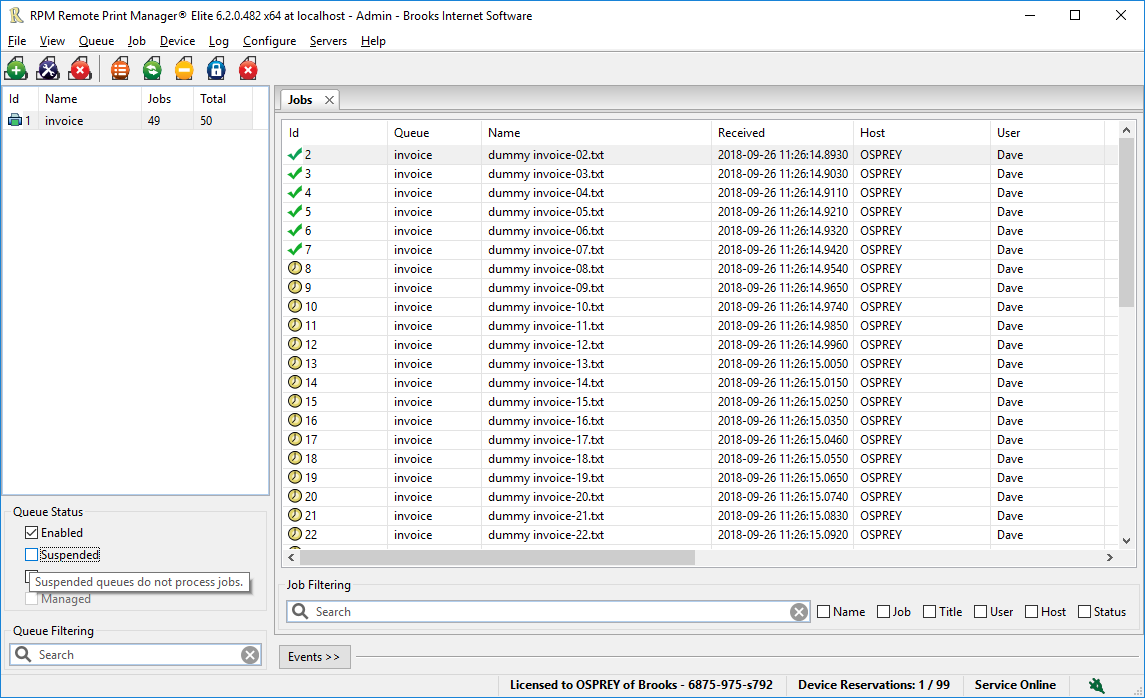
The green checkmarks mean the job is actively processing. Note that the first job has disappeared. I was not able to get to the "print screen" button fast enough before it finished. Normally that's how job processing goes in RPM.