The way you print in Windows now
Most of us know how to print from a Windows application:
- You select 'print' in the application, usually a menu option or a printer icon
- You select a printer
- You might use the Preferences button to select more options like duplex or landscape
- You click the Print button and listen for the printer
Many of our customers want to send their Linux or mainframe print jobs to RPM; we know that from the emails, phone calls, and web searches on our site. This has always been a big percentage of our customers' use of the product, from the beginning.
Setting up RPM for Windows printing from other systems
If you have not already created a queue in RPM for your print jobs, in the RPM user interface select the Queue menu then Create:

In this example, I've created a queue called tests, but of course, the name is not the key issue. The LPD protocol requires you to include a name to send the job to.
Add data cleanup and format
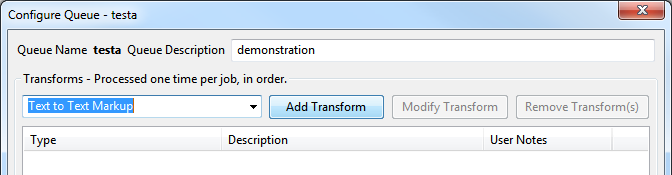
Next, we will add a transform. Use the droplist, scroll to the bottom and choose Text to Text Markup as shown below:
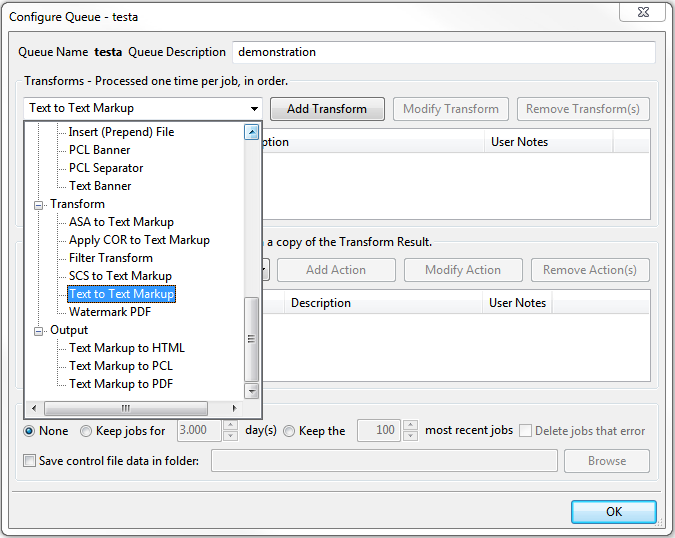
Once you've done that, "Text to Text Markup" appears in the text box. Click the Add Transform button.
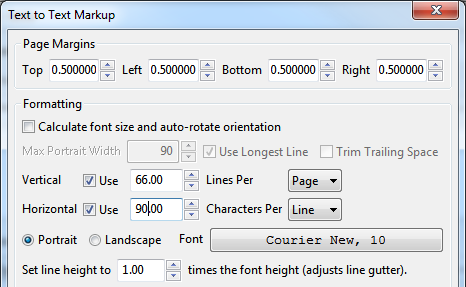
In the Text to Text Markup dialog the setting "Calculate font size and auto-rotate orientation" is usually selected. For demonstration purposes only we will unselect that so we can select the vertical and horizontal settings. Vertical defaults to 60 lines per page and horizontal to 80 characters per line. I've simply changed those settings to show nothing special about those values.
Of course, you would select the font here as well. Depending on your settings, RPM scales the font size up or down to fit.
The Text Markup transform does a wide variety of data cleanup. It recognizes overstrike using several common conventions.
Add the actual text print mechanism
In RPM, we refer to the output mechanisms, the things we do with the data, as actions.
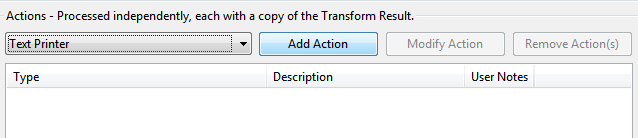
Next, we are going to add a Text Printer action. Below we show the droplist Select Action Type to Add and have Text Printer highlighted.
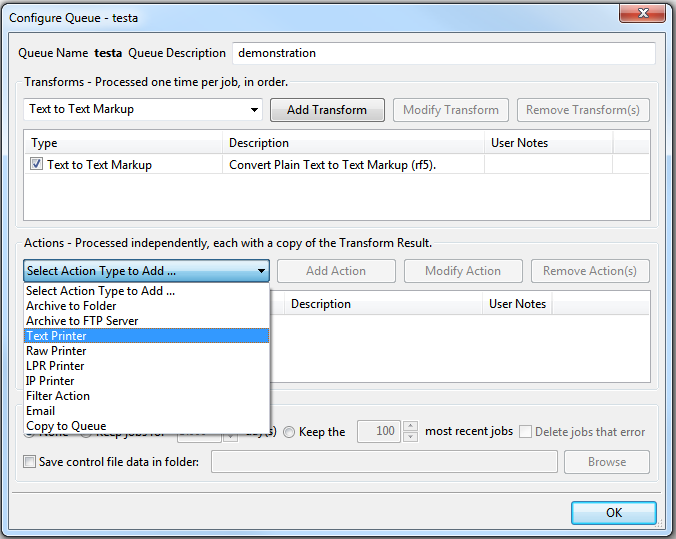
The Text Printer action is now selected, and when we add an action, that's the one that will be added. Click Add Action.
Configure the Text Print action
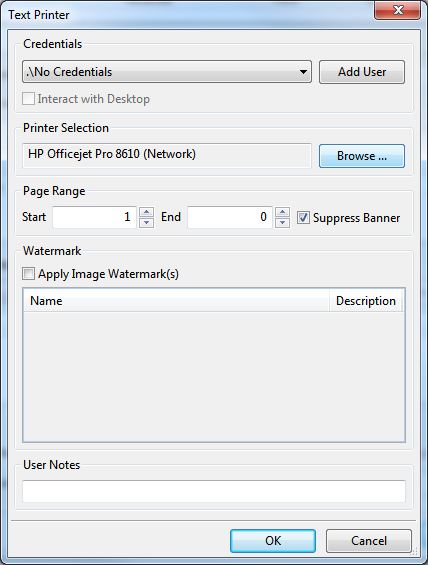
The Text Printer dialog shows the printer I want to select already since it's the default on my system. Of course, you would choose any printer you want here. To do that, you're going to click the Browse ... button.
Our interface does precisely what any Windows application does at this point: launch the Print dialog for your version of Windows.
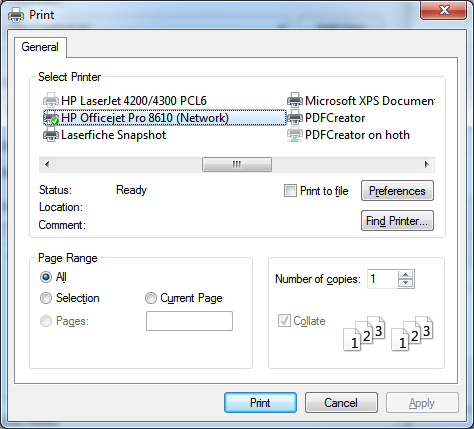
If you select the Print button, RPM will use that printer with default settings. Instead of doing that, let's live dangerously and select the Preferences button. Since this is the actual Windows print dialog, not a simulation, you'll get the preferences setting for that printer:
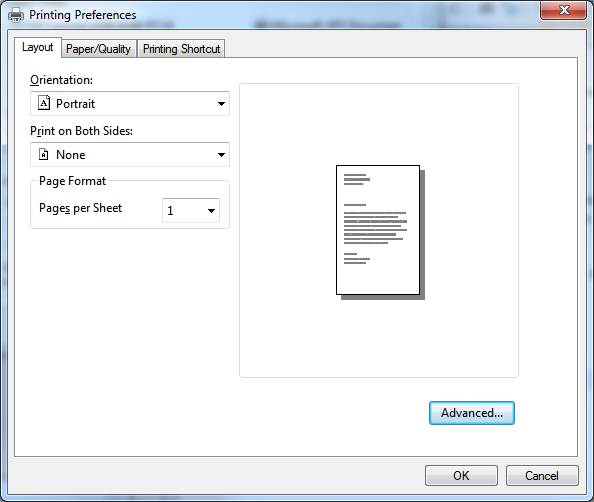
Now, make any changes you want, then select OK. We're back to the Print dialog; select Print. Usually, your application would start printing at this point. RPM on the other hand has stored your selected printer and the settings from the Preferences dialog.
Your queue setup should now look something like the following:
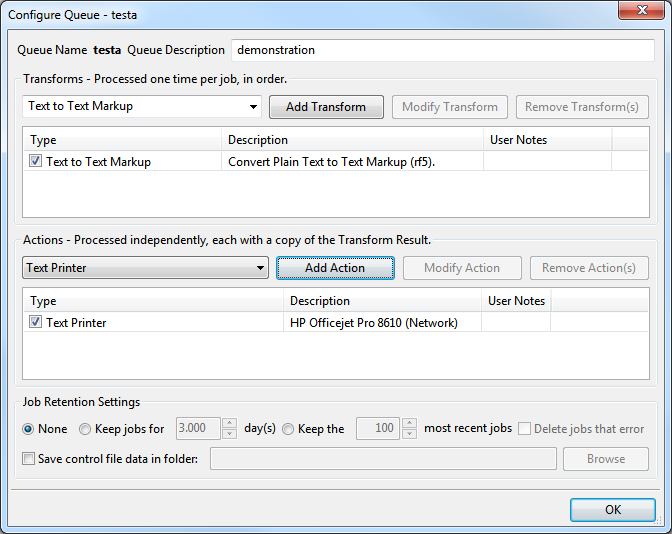
Now, any time you send a text print job to this queue, it will print exactly as you have it configured! Congratulations!